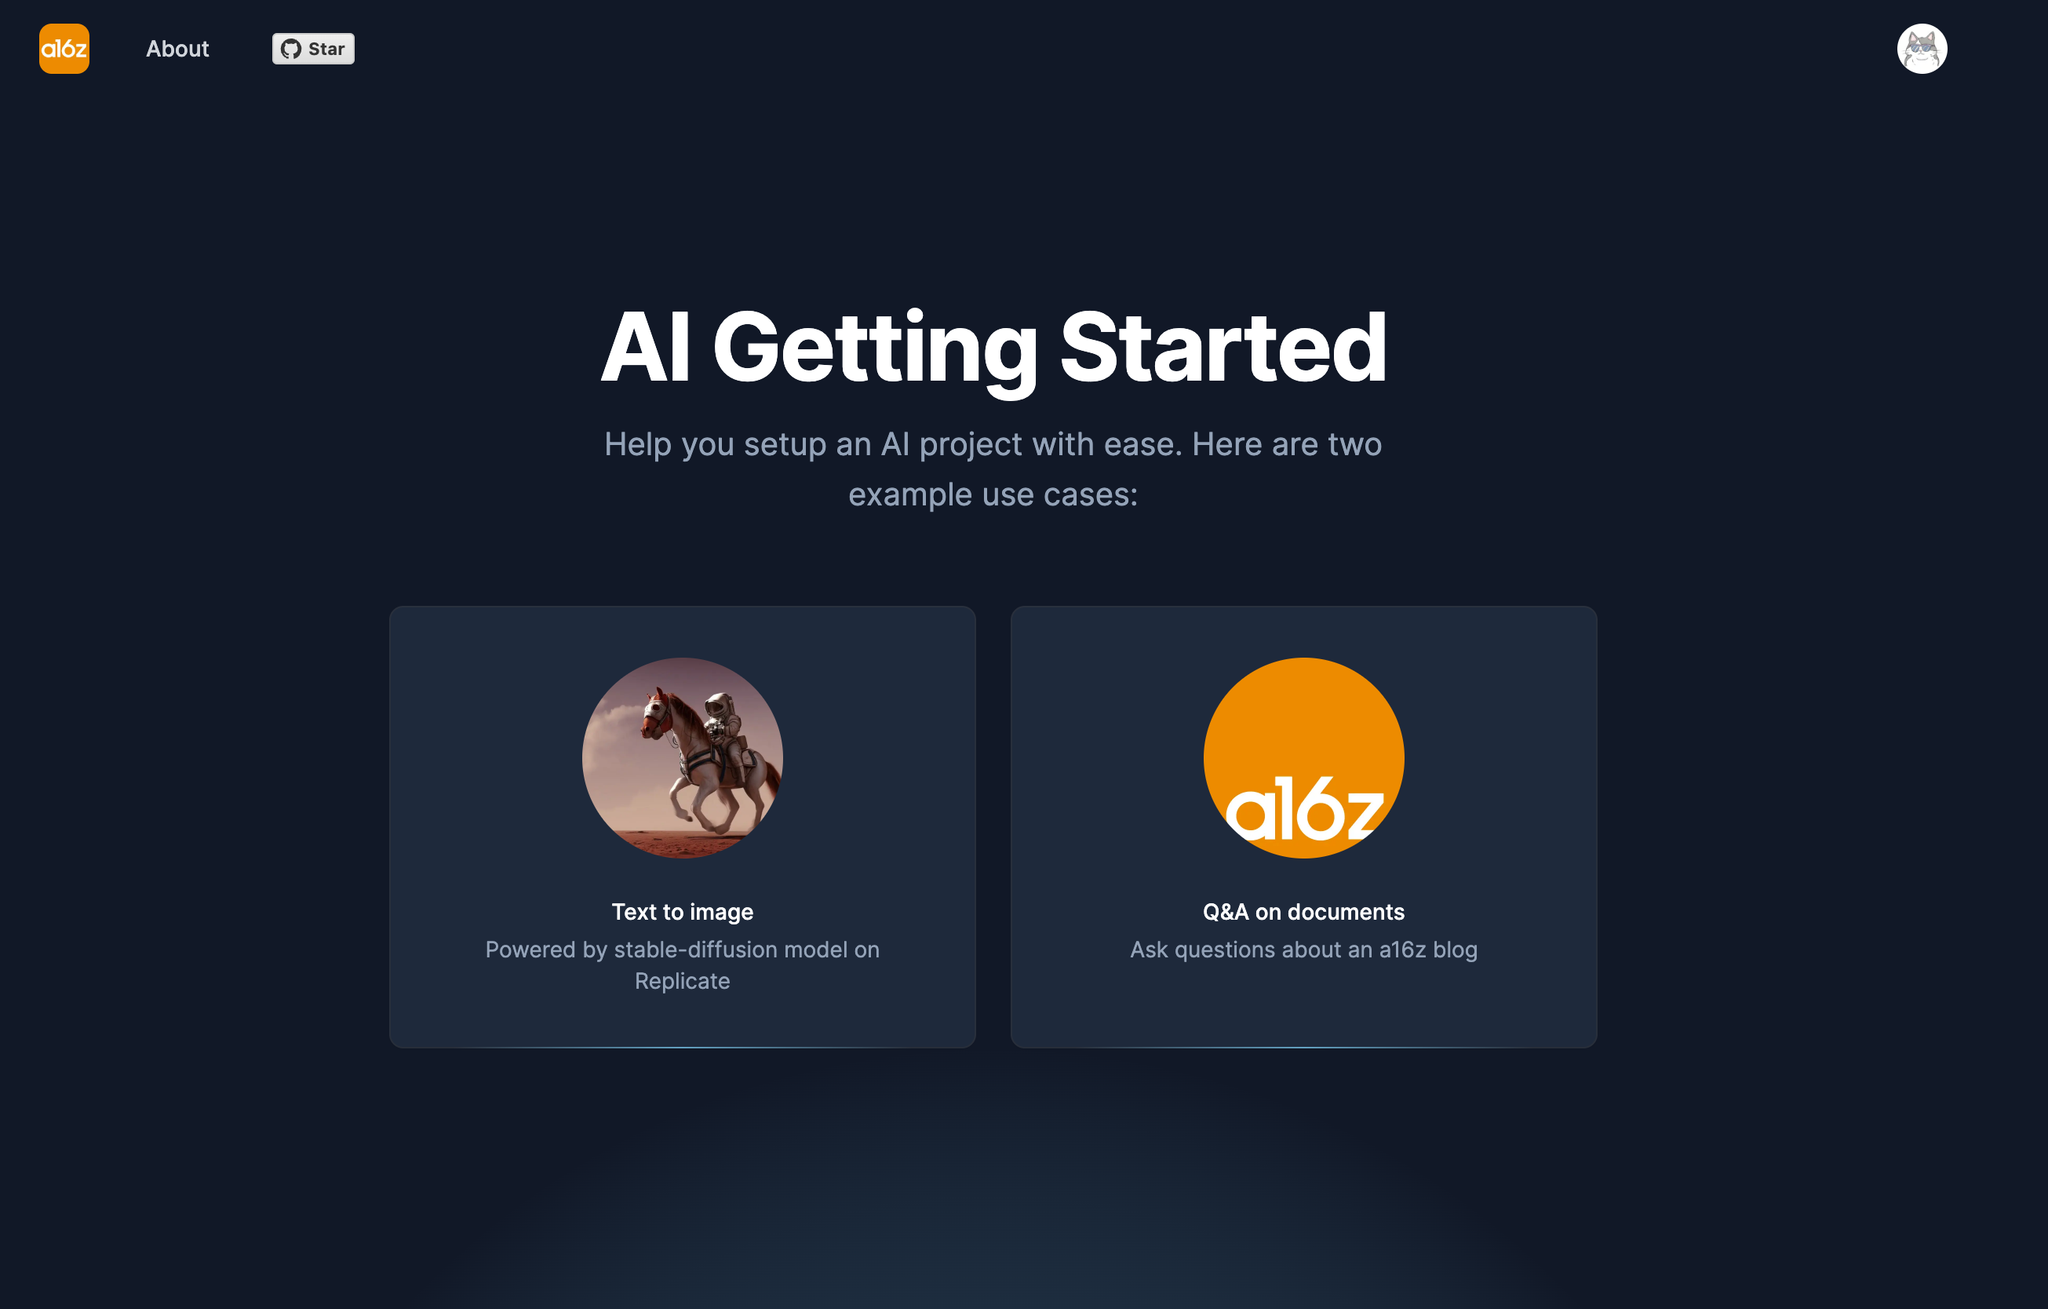
AI Getting Started

Stack
- Auth: Clerk
- App logic: Next.js
- VectorDB: Pinecone / Supabase pgvector
- LLM Orchestration: Langchain.js
- Image Model: Replicate
- Text Model: OpenAI
- Text streamming: ai sdk
- Deployment: Fly
Overview
Quickstart
The simplest way to try out this stack is to test it out locally and traverse through code files to understand how each component work. Here are the steps to get started.
1. Fork and Clone repo
Fork the repo to your Github account, then run the following command to clone the repo:
plain textgit clone git@github.com:[YOUR_GITHUB_ACCOUNT_NAME]/ai-getting-started.git
2. Install dependencies
plain textcd ai-getting-started
npm install
3. Fill out secrets
plain textcp .env.local.example .env.local
a. Clerk Secrets
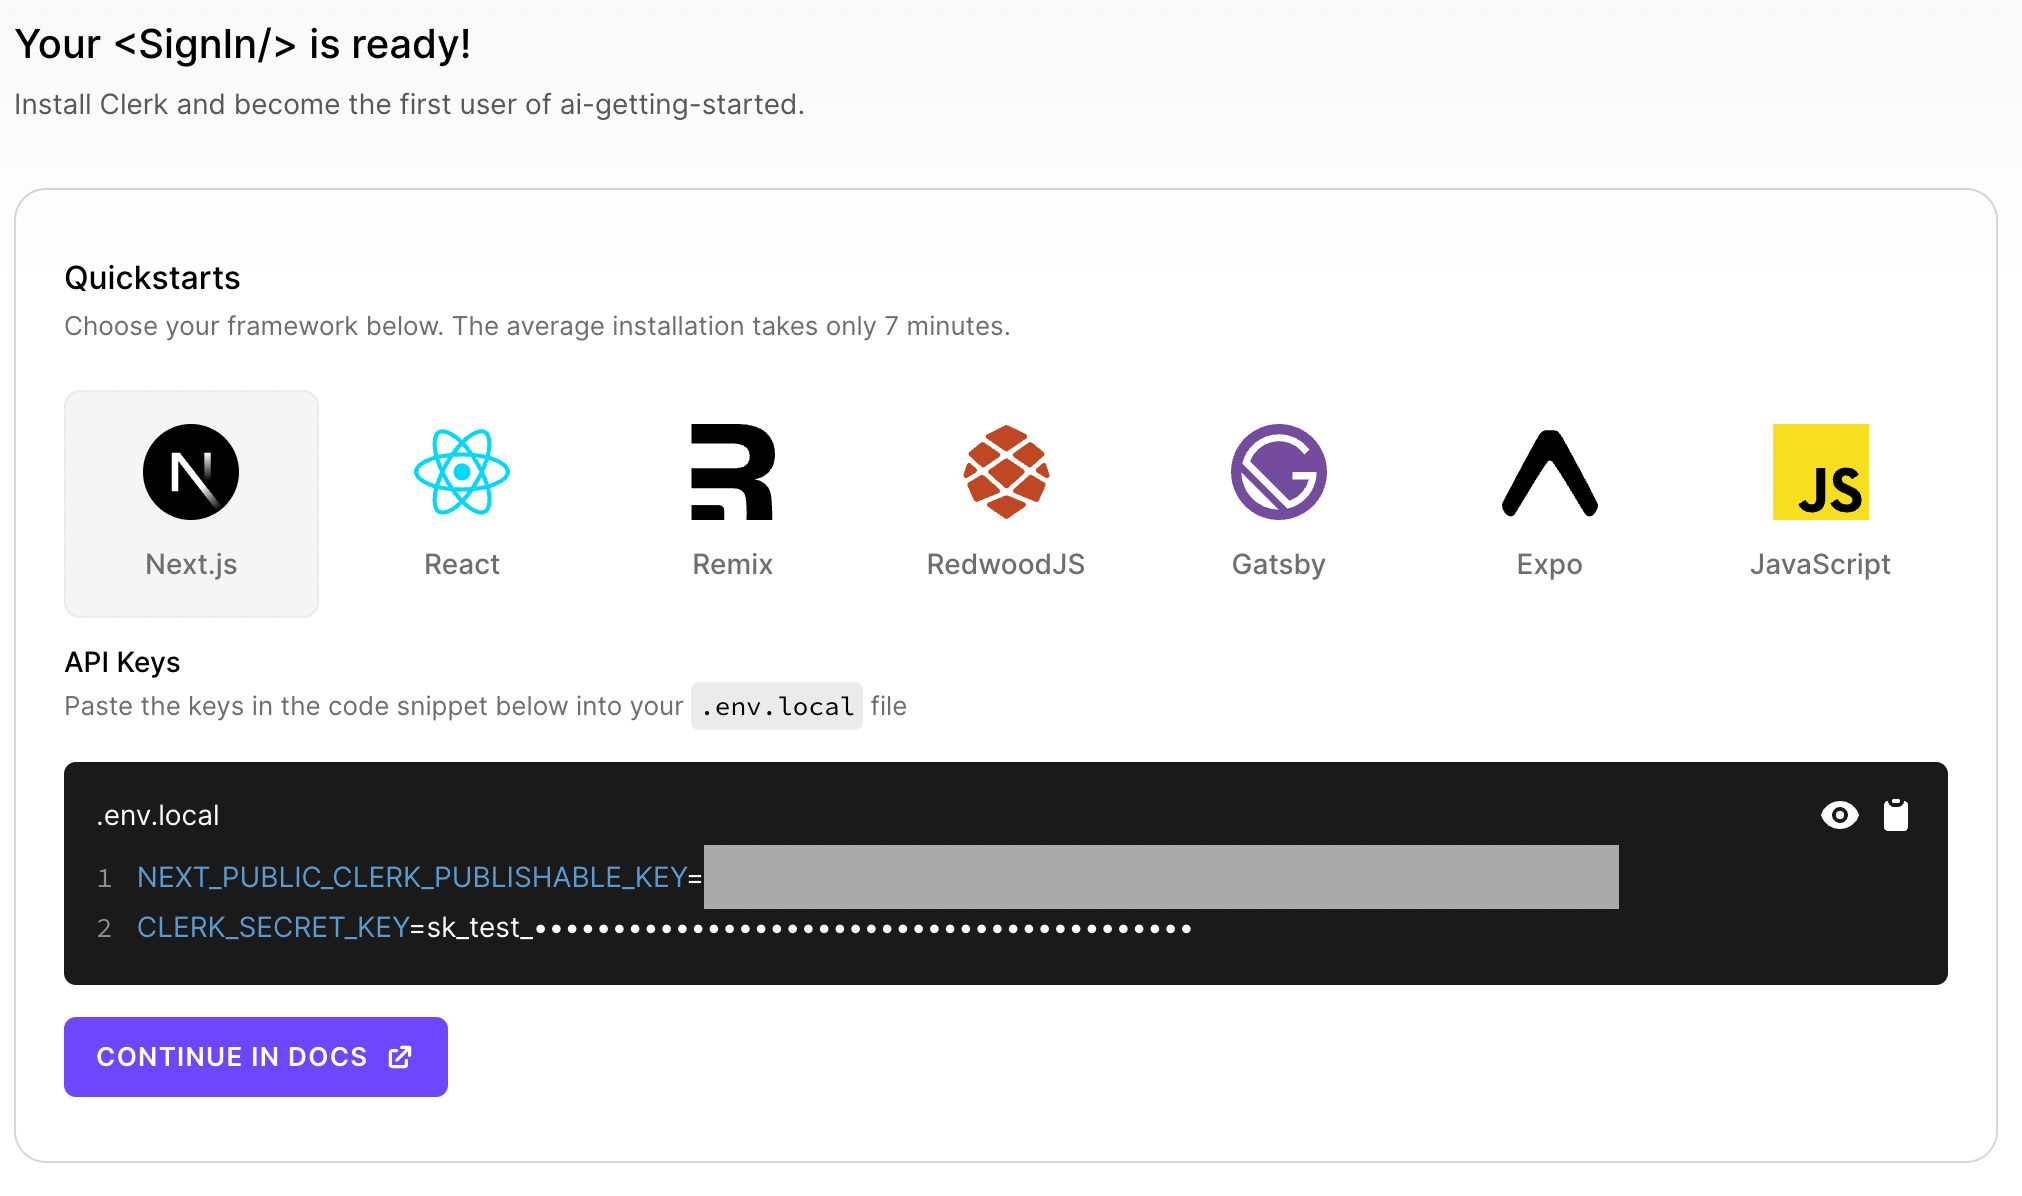
Go to https://dashboard.clerk.com/ -> "Add Application" -> Fill in Application name/select how your users should sign in -> Create Application Now you should see both
NEXT_PUBLIC_CLERK_PUBLISHABLE_KEY and CLERK_SECRET_KEY on the screen
b. OpenAI API key
Visit https://platform.openai.com/account/api-keys to get your OpenAI API key
c. Replicate API key
Visit https://replicate.com/account/api-tokens to get your Replicate API key
d. Pinecone API key
- Create a Pinecone index by visiting https://app.pinecone.io/ and click on "Create Index"
- Give it an index name (this will be the environment variable
PINECONE_INDEX)
- Fill in Dimension as
1536
- Once the index is successfully created, click on "API Keys" on the left side nav and create an API key: copy "Environment" value to
PINECONE_ENVIRONMENTvariable, and "Value" toPINECONE_API_KEY
e. Supabase API key
- Create a Supabase instance here; then go to Project Settings -> API
SUPABASE_URLis the URL value under "Project URL"
SUPABASE_PRIVATE_KEYis the key starts witheyunder Project API Keys
- Now, you should enable pgvector on Supabase and create a schema. You can do this easily by clicking on "SQL editor" on the left hand side on supabase UI and then clicking on "+New Query". Copy paste this code snippet in the SQL editor and click "Run".
4. Generate embeddings
There are a few markdown files under
/blogs directory as examples so you can do Q&A on them. To generate embeddings and store them in the vector database for future queries, you can run the following command:If using Pinecone
Run the following command to generate embeddings and store them in Pinecone:
plain textnpm run generate-embeddings-pinecone
If using Supabase pgvector
In
QAModel.tsx, replace /api/qa-pinecone with /api/qa-pg-vector. Then run the following command to generate embeddings and store them in Supabase pgvector:plain textnpm run generate-embeddings-supabase
5. Run app locally
Now you are ready to test out the app locally! To do this, simply run
npm run dev under the project root.6. Deploy the app
Deploy to fly.io
- Register an account on fly.io and then install flyctl
- Run
fly launchunder project root -- this will generate afly.tomlthat includes all the configurations you will need
- Run
fly deploy -ha=falseto deploy the app -- the -ha flag makes sure fly only spins up one instance, which is included in the free plan. You also want to runfly scale memory 512to scale up the fly vm memory for this app.
- For any other non-localhost environment, the existing Clerk development instance should continue to work. You can upload the secrets to Fly by running
cat .env.local | fly secrets import
- If you are ready to deploy to production, you should create a prod environment under the current Clerk instance. For more details on deploying a production app with Clerk, check out their documentation here. Note that you will likely need to manage your own domain and do domain verification as part of the process.
- Create a new file
.env.prodlocally and fill in all the production-environment secrets. Remember to updateNEXT_PUBLIC_CLERK_PUBLISHABLE_KEYandCLERK_SECRET_KEYby copying secrets from Clerk's production instance -cat .env.prod | fly secrets importto upload secrets
Other deployment options
How to contribute to this repo
Code contribution workflow
You can fork this repo, make changes, and create a PR. Add @ykhli or @timqian as reviewers.
If you are new to contributing on github, here is a step-by-step guide:
- Clcik on
Forkon the top right of this page
- Work on your change and push it to your forked repo. Now when you navigate to the forked repo's UI, you should see something like the following:

- Click on "Contribute" -> "Open Pull Request".
- Once you have a PR, you can add reviewers.
Other contributions
Feel free to open feature requests, bug reports etc under Issues.


